

A Levoit air purifier that will not turn on at all is one of the most common service failures across Core, Vital, LV, and smart models. No lights, no fan noise, no response from buttons. From a technician’s standpoint, this is a straightforward diagnosis once you understand how Levoit designs its internal power system. If your unit has a different issue, check out this Levoit troubleshooting guide.
What “No Power” Really Means on a Levoit
When a Levoit purifier appears dead, the failure is almost never the external cord or wall outlet. Internally, Levoit uses a compact low-voltage power supply board that converts household AC power into DC power for the control board and fan motor.
If that board fails, the entire purifier becomes unresponsive even though every other component may still be functional.
In real service cases, the failure usually falls into one of three categories:
The power board is not receiving power
The power board is receiving power but not outputting voltage
The power board outputs unstable voltage that never reaches the control board
Why This Failure Is So Common on Levoit Units
Levoit air purifiers are designed for continuous operation. Many owners run them 24 hours a day. Internally, that means steady heat exposure concentrated in a small area.
Levoit power boards tend to fail due to:
Heat-stressed capacitors
Small internal transformers running near thermal limits
Aging solder joints that crack with expansion and contraction
Electrical surges or brownouts
I have opened many units with visible discoloration on the power board even though the exterior looked pristine.
Step 1: Confirm the Problem Is Truly Internal
A technician does not open the unit immediately.
Before disassembly, they verify:
The wall outlet is live
The purifier’s power cord is not damaged
There is no intermittent power when the cord is flexed
Only once external causes are ruled out does internal diagnosis begin.
Step 2: Safe Access to Internal Components
With power disconnected, the technician removes the outer housing. On most Levoit models, this involves removing base screws and lifting the cylindrical shell away from the internal frame.
Levoit units are compact, and wiring is tightly routed. Care is taken not to strain connectors or pinch wires during access.
Step 3: Identify the Power Supply Board
Inside the purifier, the power supply board is usually mounted near the base where the power cord enters the unit. It is separate from the main control board and connected via low-voltage harnesses.
At this stage, technicians visually inspect for:
Burn marks or discoloration
Swollen or leaking capacitors
Loose or heat-brittled connectors
A surprising number of failures can be identified visually before any testing begins.
Step 4: Verify Incoming Power to the Board
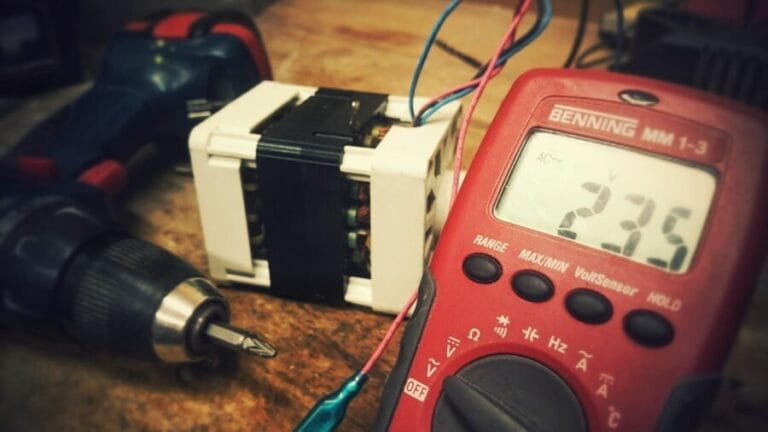
After visual inspection, technicians reconnect power briefly for testing purposes. Incoming AC voltage is measured at the input side of the power board.
If no voltage is present at the board:
The issue lies with the cord, internal fuse, or wiring harness
If voltage is present:
The power board itself becomes the primary suspect
On Levoit units, the internal fuse is rarely the root cause. The board itself usually fails first.
Step 5: Test Power Board Output
The most critical step is testing whether the board outputs stable low-voltage DC power to the control board.
Common findings include:
Zero output voltage
Voltage present but far below specification
Voltage that fluctuates briefly, then collapses
Any of these conditions will prevent the control board from booting, resulting in a completely dead unit.
Step 6: Why Component-Level Repair Is Rare
Although individual components like capacitors or transformers may be the root cause, Levoit does not support component-level repair. Replacement boards are treated as sealed assemblies.
From a technician perspective, attempting to rebuild these boards is unreliable due to:
Multi-layer board construction
Lack of published schematics
Thermal damage beyond visible components
As a result, the standard repair path is full power board replacement when parts are available.
Step 7: Replacement and Reassembly
Once the faulty power board is removed, the replacement board is installed using the original mounting points and connectors. Wiring is routed exactly as originally designed to prevent heat buildup or vibration damage.
Before fully closing the unit, technicians perform a test power-up to confirm:
Indicator lights activate
The control board initializes
The fan responds normally
Only after successful testing is the housing reassembled.
Step 8: Post-Repair Validation
After reassembly, technicians allow the purifier to run long enough to ensure stable operation. This confirms that the failure was isolated to the power board and not part of a larger electrical issue.
If the unit shuts down again during testing, attention shifts to the control board or fan motor load.
Why This Repair Often Ends the Lifespan Discussion
Although the repair itself is straightforward, this failure often becomes a replacement decision point. Power board failures typically occur mid-to-late in the purifier’s life, and other components may not be far behind.
That does not mean the unit is poorly built. It means it reached the point where continuous heat exposure took its toll.
Technician Takeaway on No-Power Levoit Failures
From years of service experience, this is what stands out:
No-power issues are usually power board failures
The failure is predictable, not random
Repair is technically simple but economically sensitive
Most units fail cleanly, without cascading damage
Understanding this repair path helps owners make informed decisions rather than assuming the purifier is irreparably dead. Check out this article to see the cost or repair for this failure, or this article to see how to maintain your air purifier to prevent these issues.